Theme installation
After installing all of the add-ons that came with the theme, it’s time to install the VIVAshop Ultimate/VIVAshop Multi-Vendor theme package. In this example we'll show how to install the VIVAshop Ultimate package, so please follow the steps below in order to install the theme on your site:
- Step 1
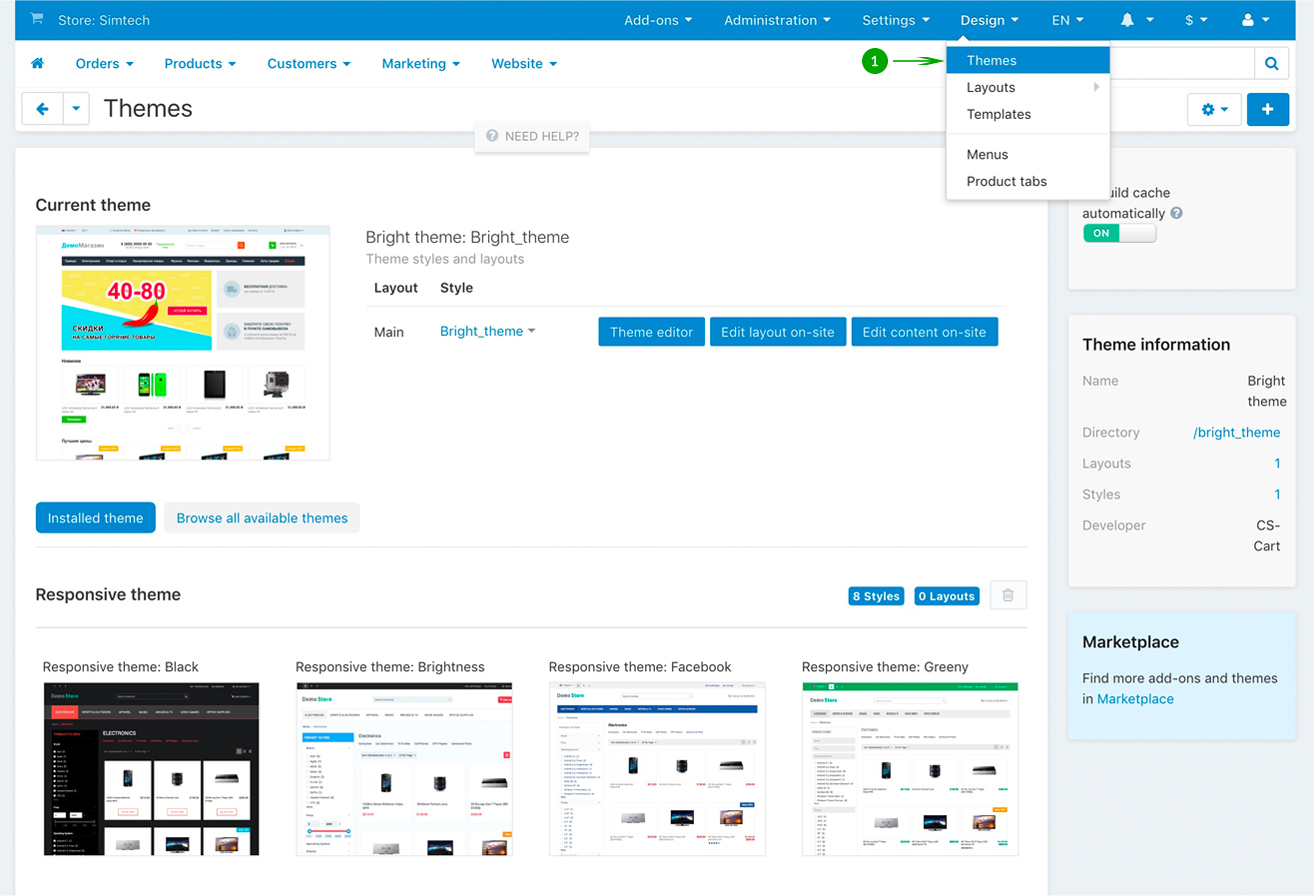
Log into your Administrator area of your CS-Cart installation and navigate to "Design" - "Themes"
- Step 2
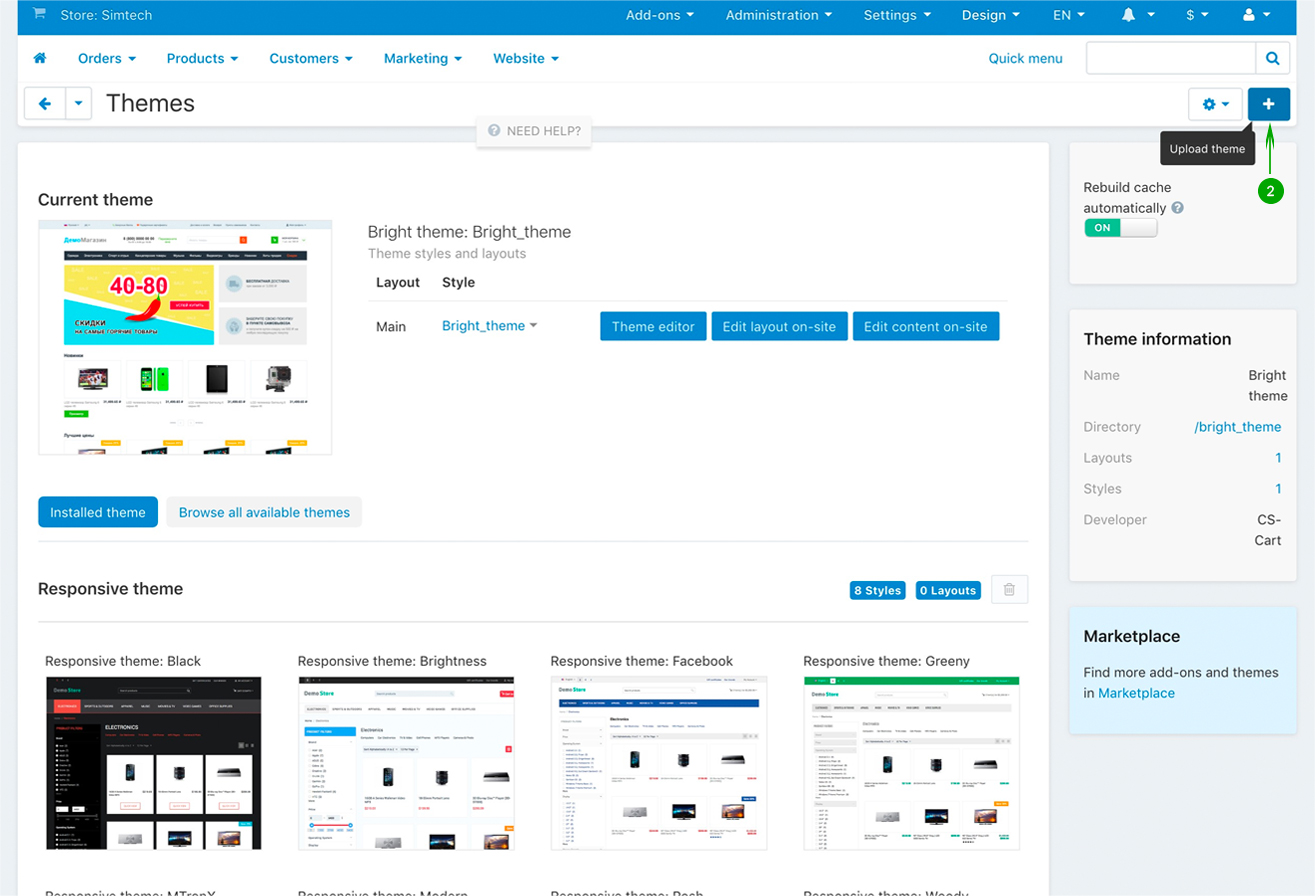
Click on “+” sign (Upload theme)
- Step 3
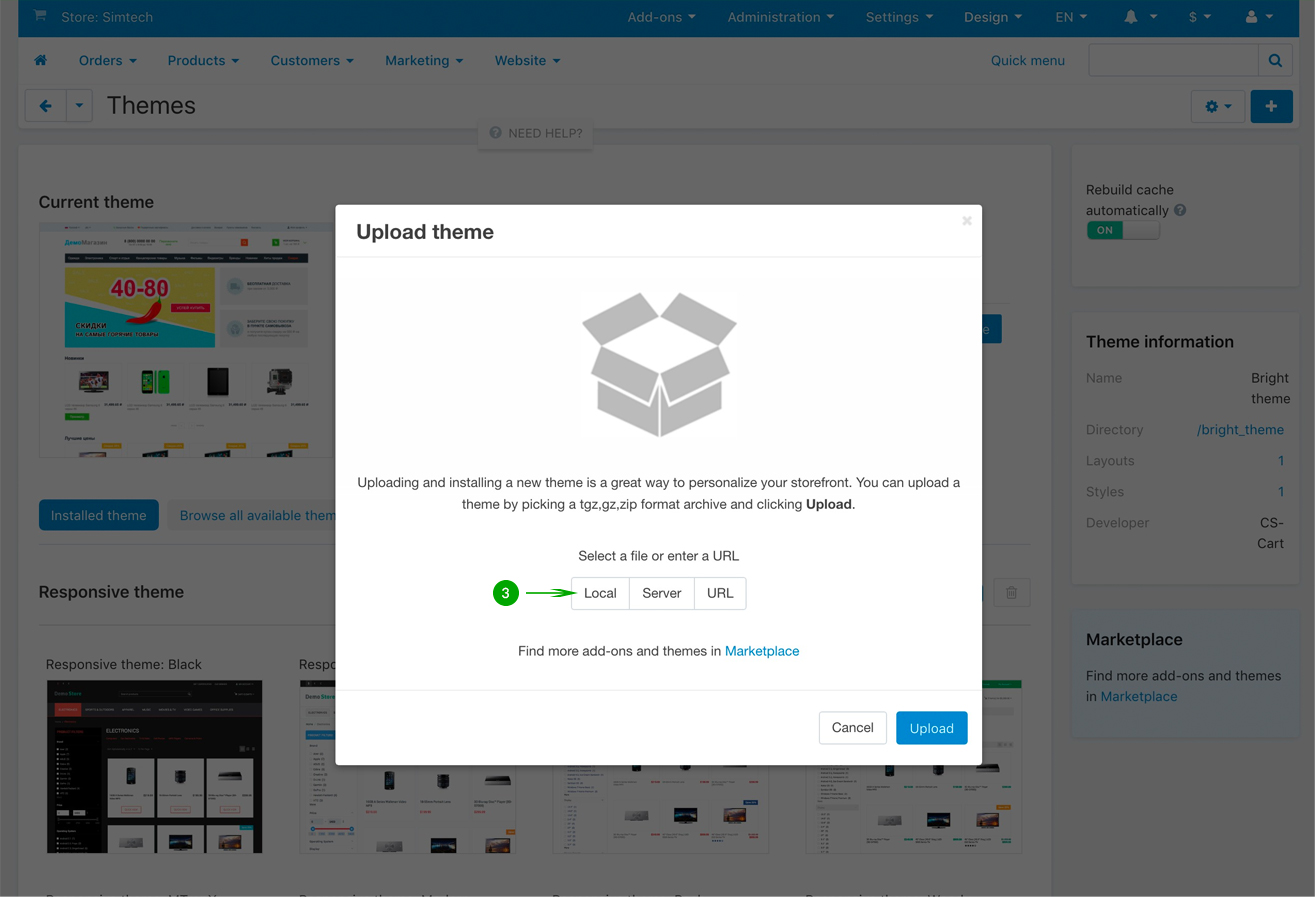
In the newly opened pop-up window under "Select a file or enter a URL" click on the "Local" button and locate the "theme" folder from your unzipped archive.
- Step 4
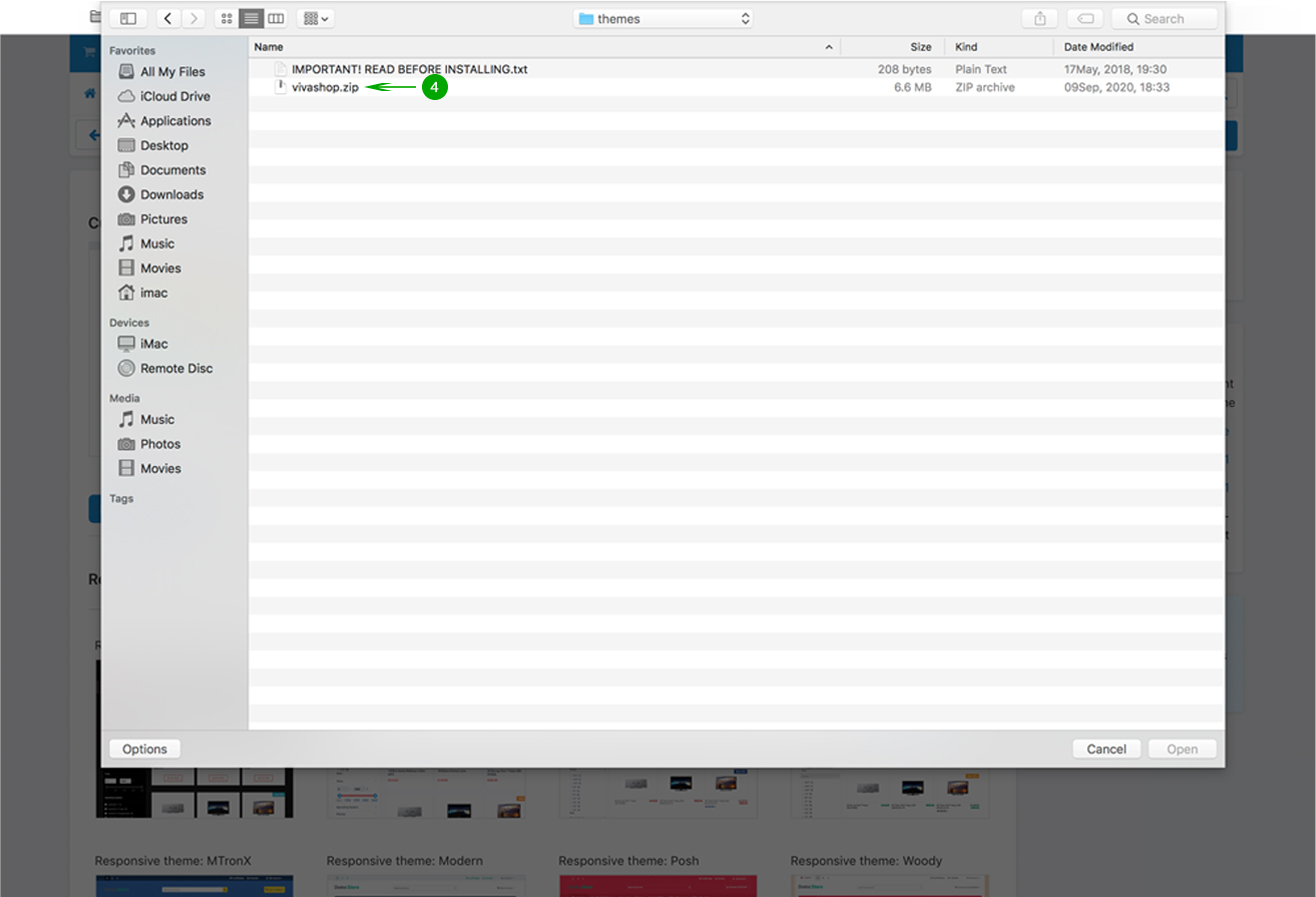
Select the file vivashop.zip and click.on “Open”.
- Step 5
Click the blue "Upload" button.
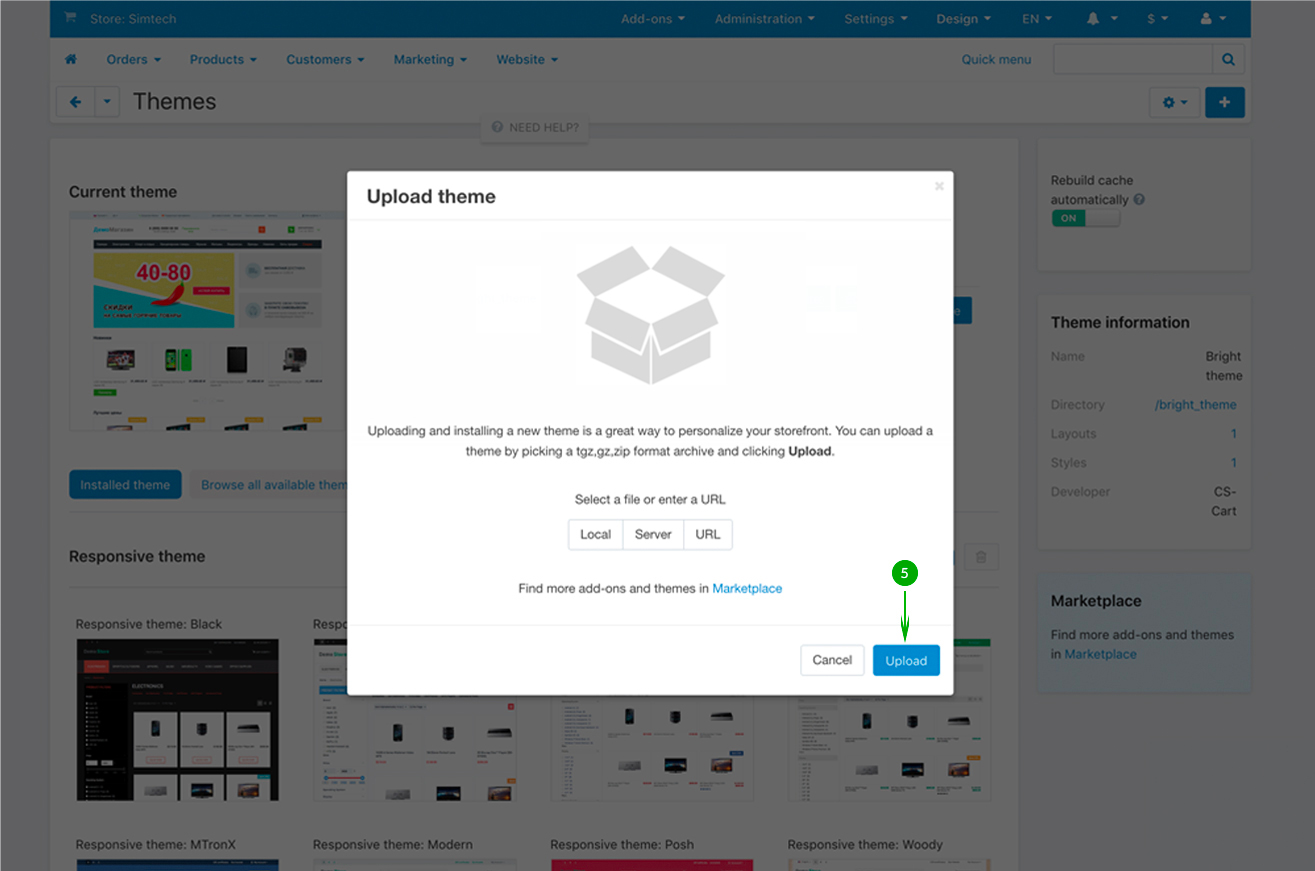
- Step 6
After the upload is complete click the "Browse all available themes" tab.
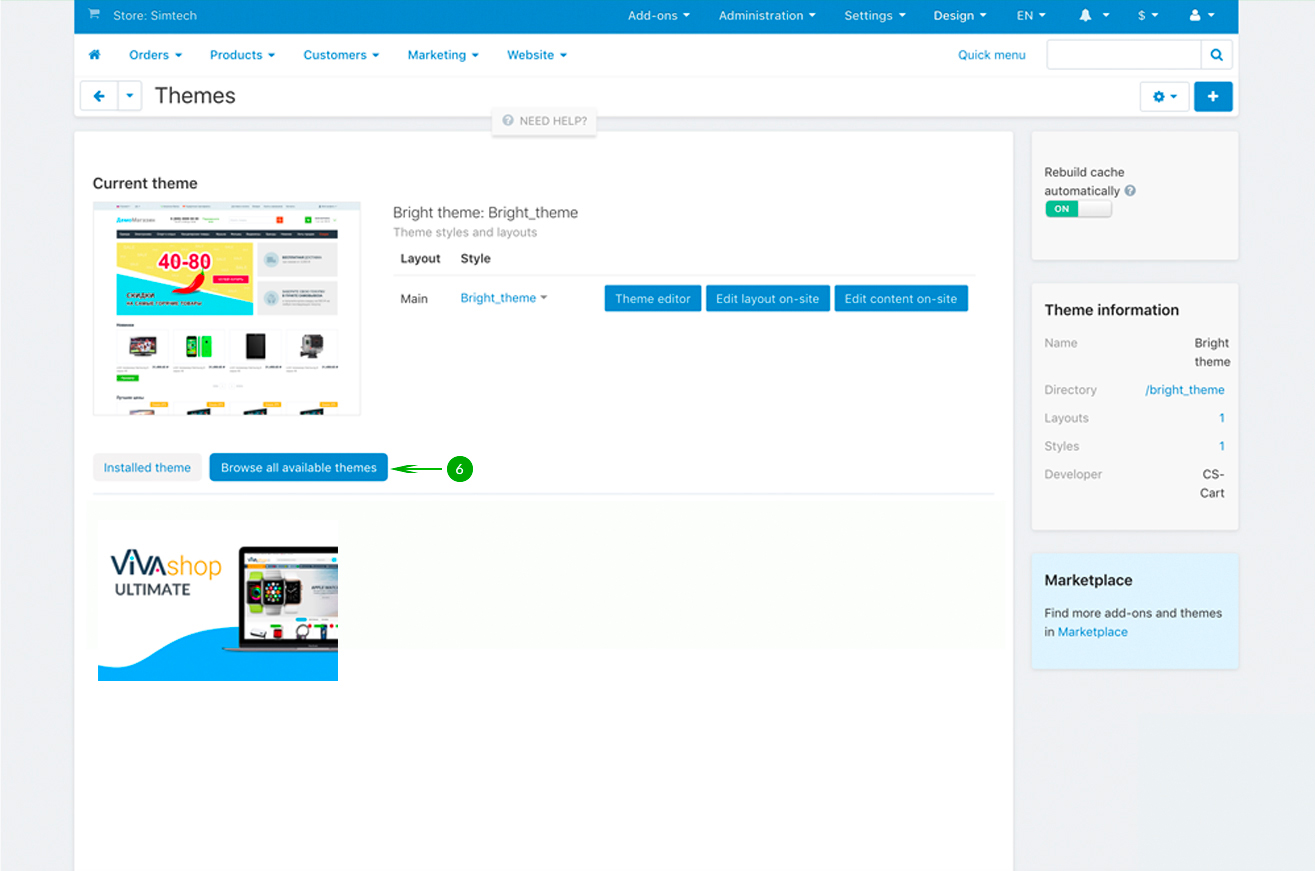
- Step 7
Hover over the VIVAshop Ultimate (or VIVAshop Multi-Vendor) theme thumbnail image, and click on the "Install" button.
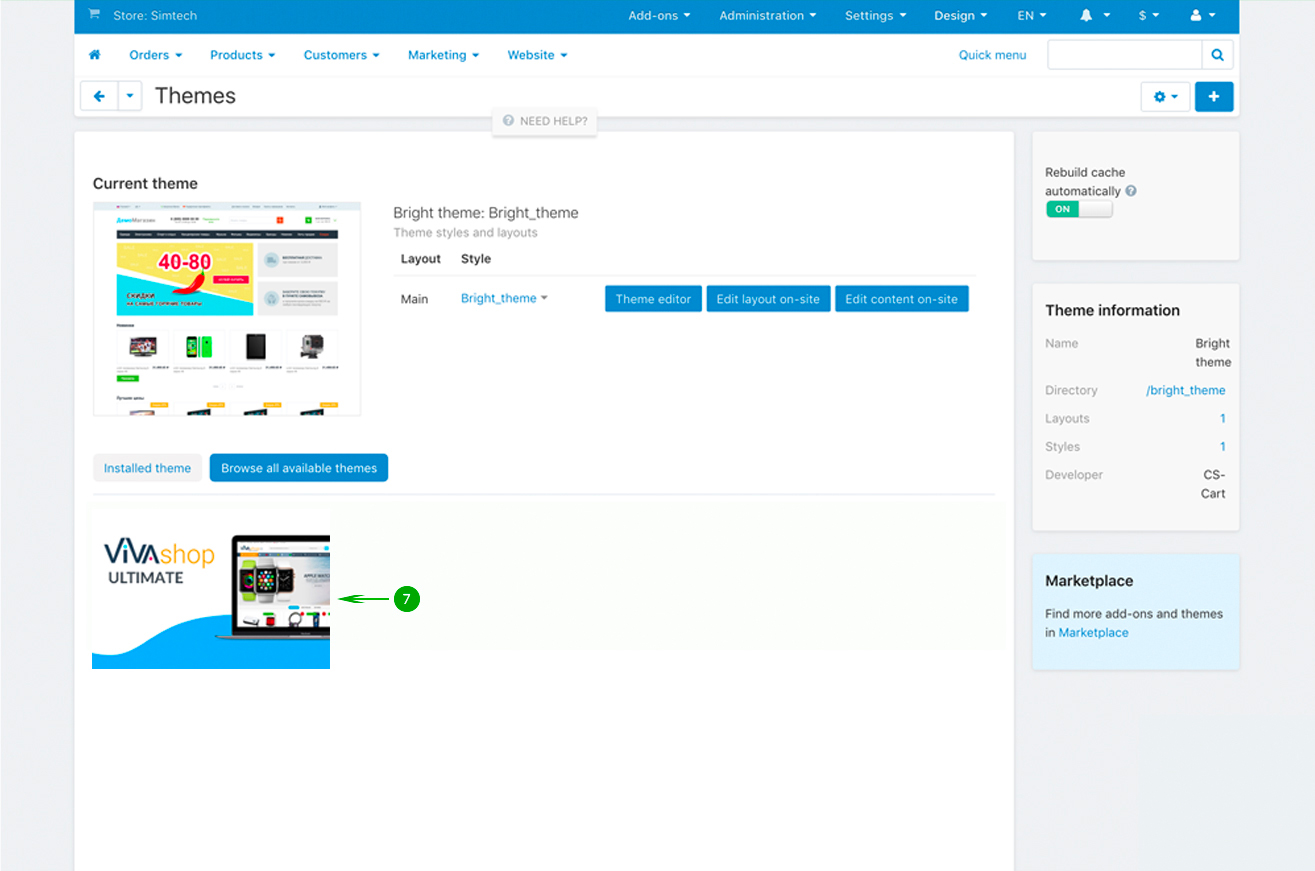
- Step 8
After the installation is complete scroll down the page until you see the 20 thumbnail images for the theme styles.
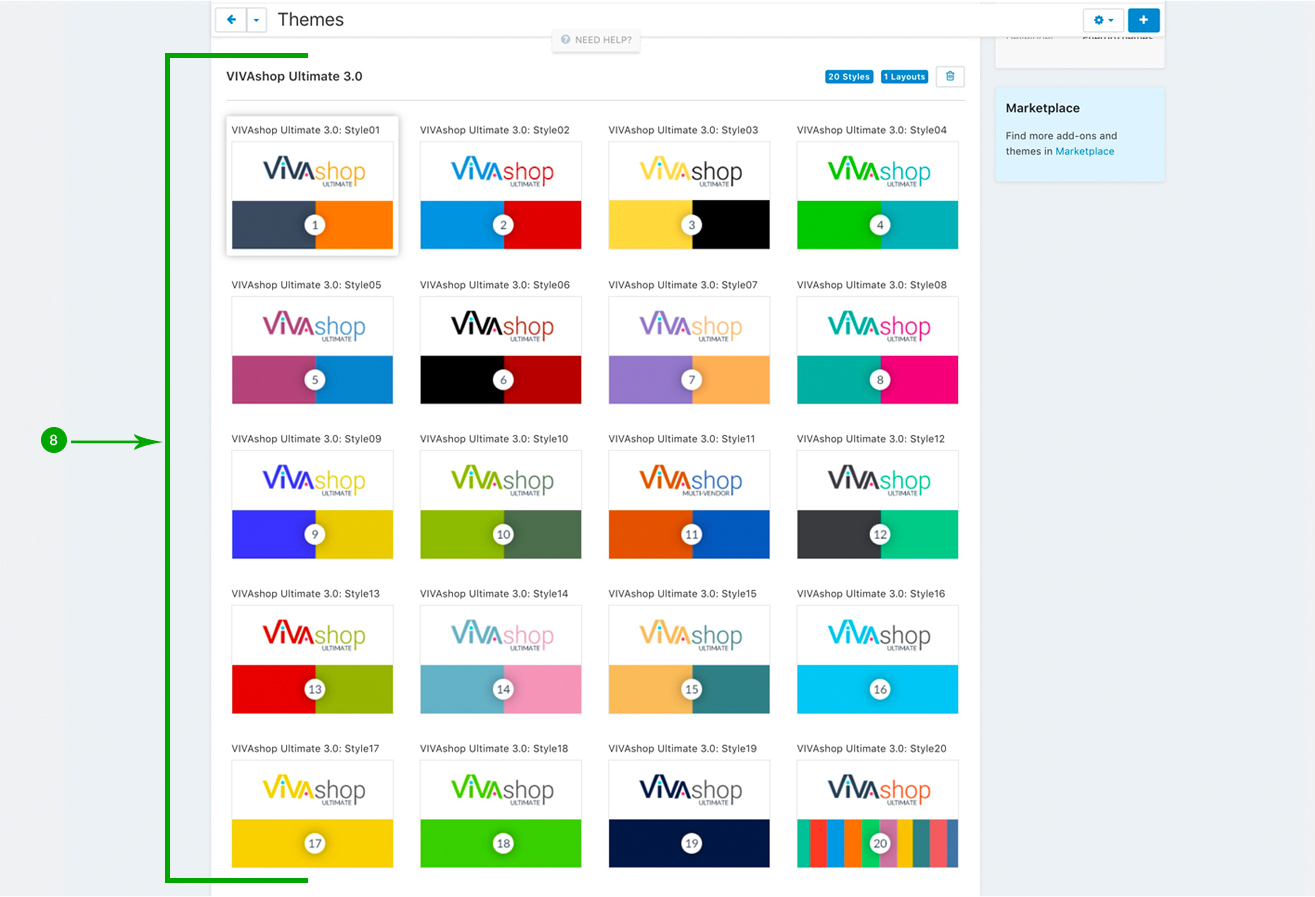
- Step 9
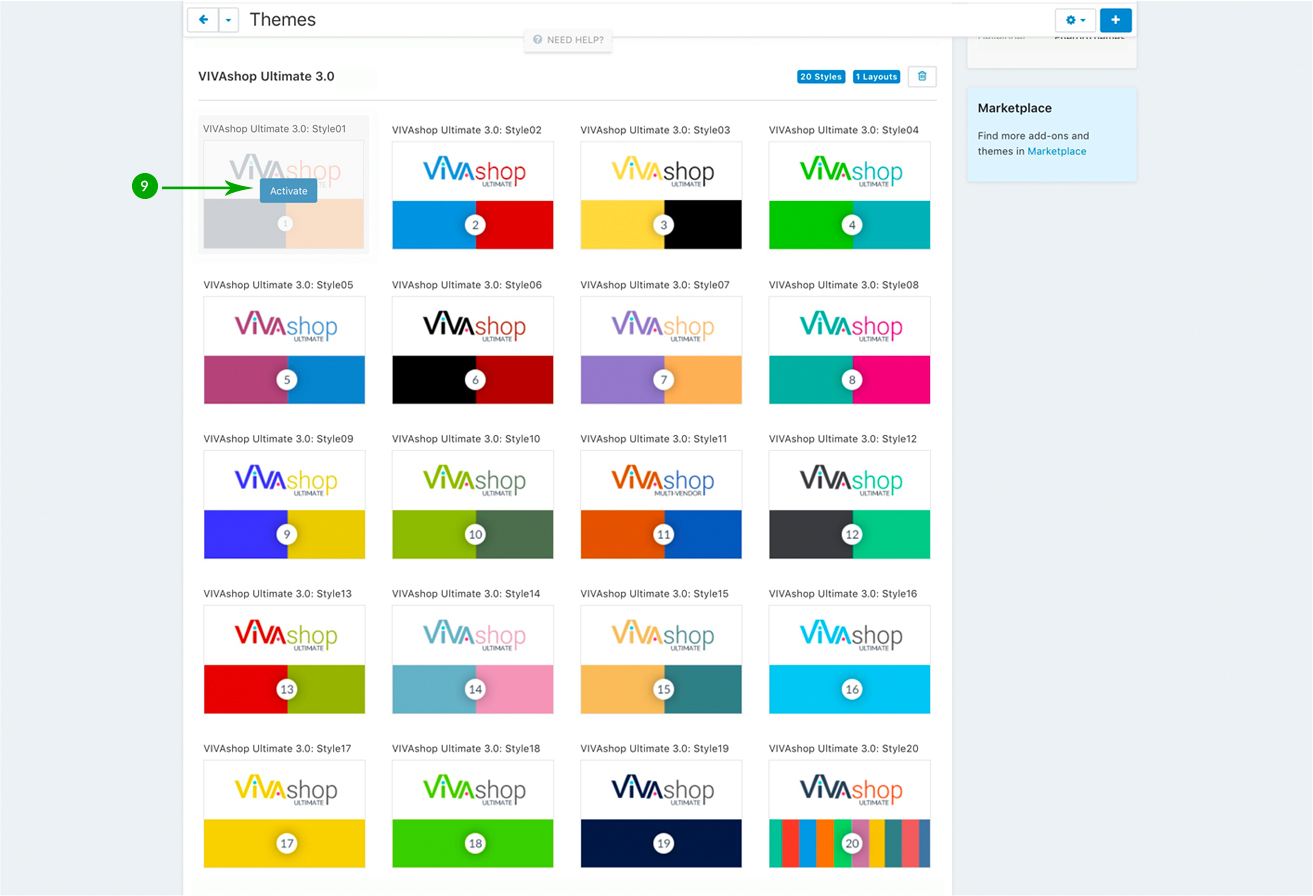
Hover over the theme style that you want to use and click on the "Activate" button.
- Step 10
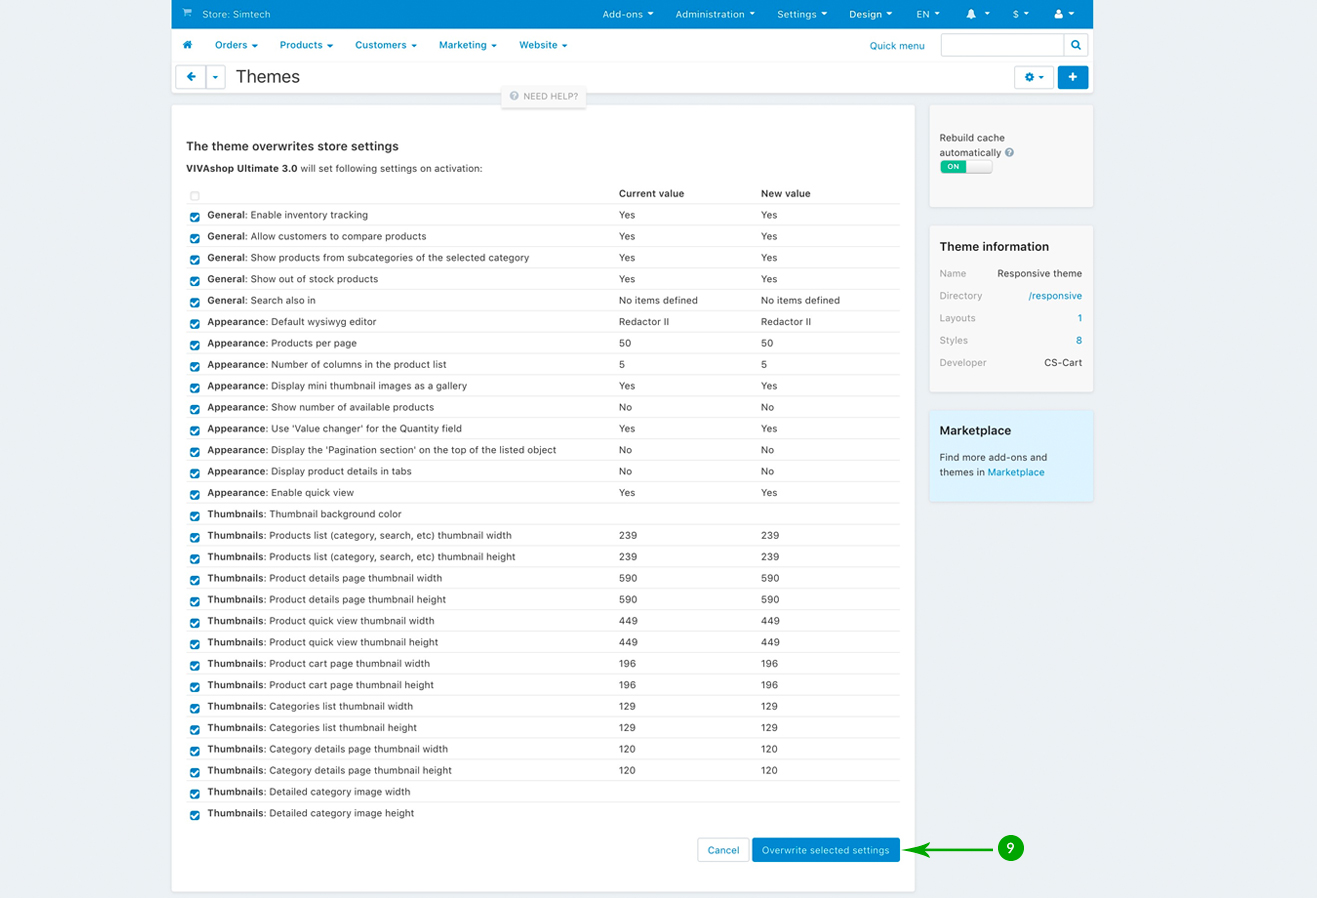
The theme settings overwrite page will notify you about the changes that will be made. Click on the blue "Overwrite selected settings button" at the bottom.
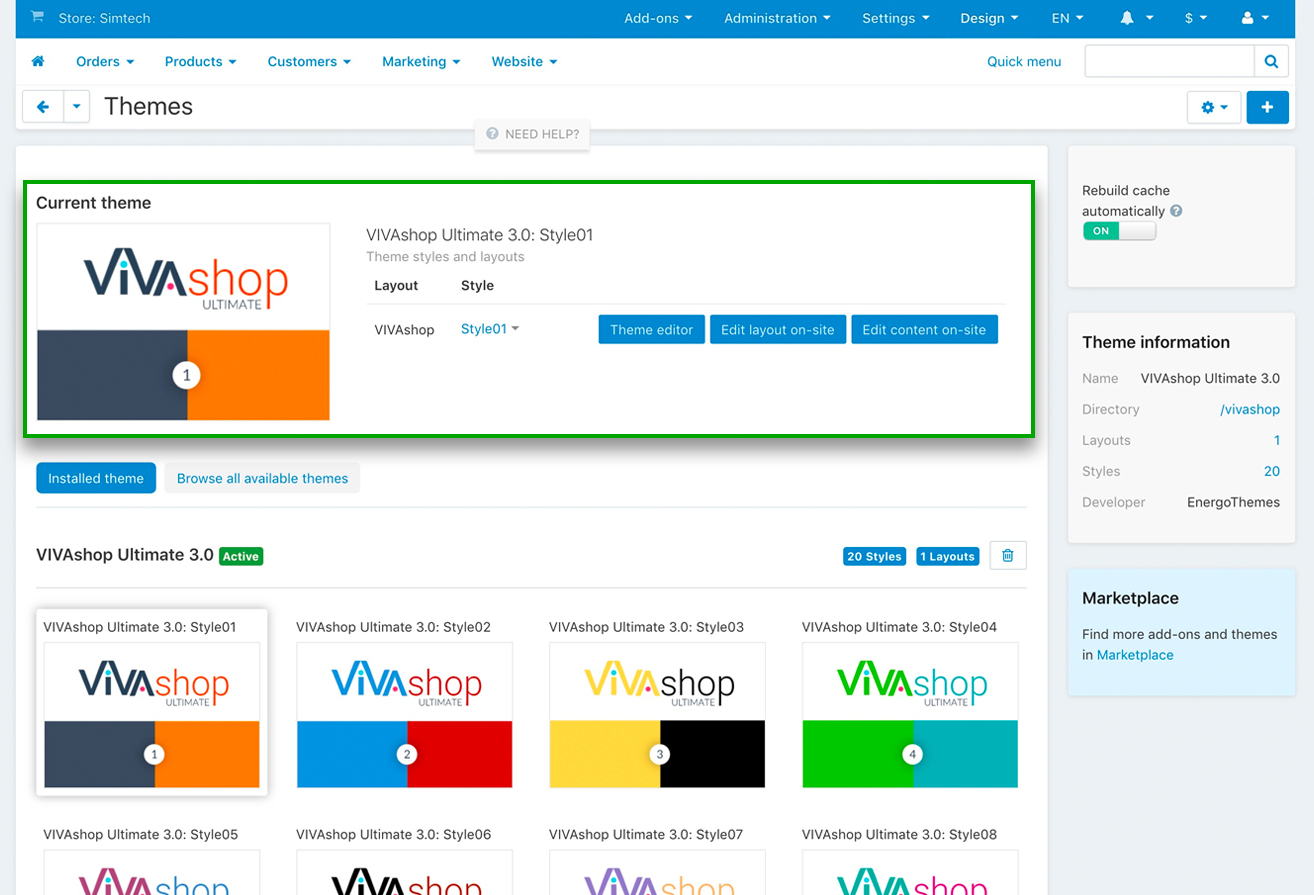
Once the theme is installed and the desired style is chosen, the theme thumbanil image will appear unde “Current theme” sectiuon, as it may be seen in the image below:
Now we have all of the necessary add-ons and theme files installed, as well as the chosen style, however, the theme will not be visible on your site yet, until you activate the theme license. So let’s move on to the next section and learn how to activate the theme license.
